
티스토리 뷰
EKS 위에 Airflow 구성에서 이어지는 글에서 이어지는 내용입니다. 환경 구성이 끝났다는 가정하에 진행합니다.
헬름 차트를 통해 EKS 위에 Airflow 배포가 끝났다면 이제 Executor를 변경해보도록 합시다. 단계는 아주 간단합니다. 1) 설정 파일을 다운로드하고 2) 파일 내용을 원하는 방향으로 수정합니다 3) 끝으로 수정된 파일을 배포하는 순서입니다.
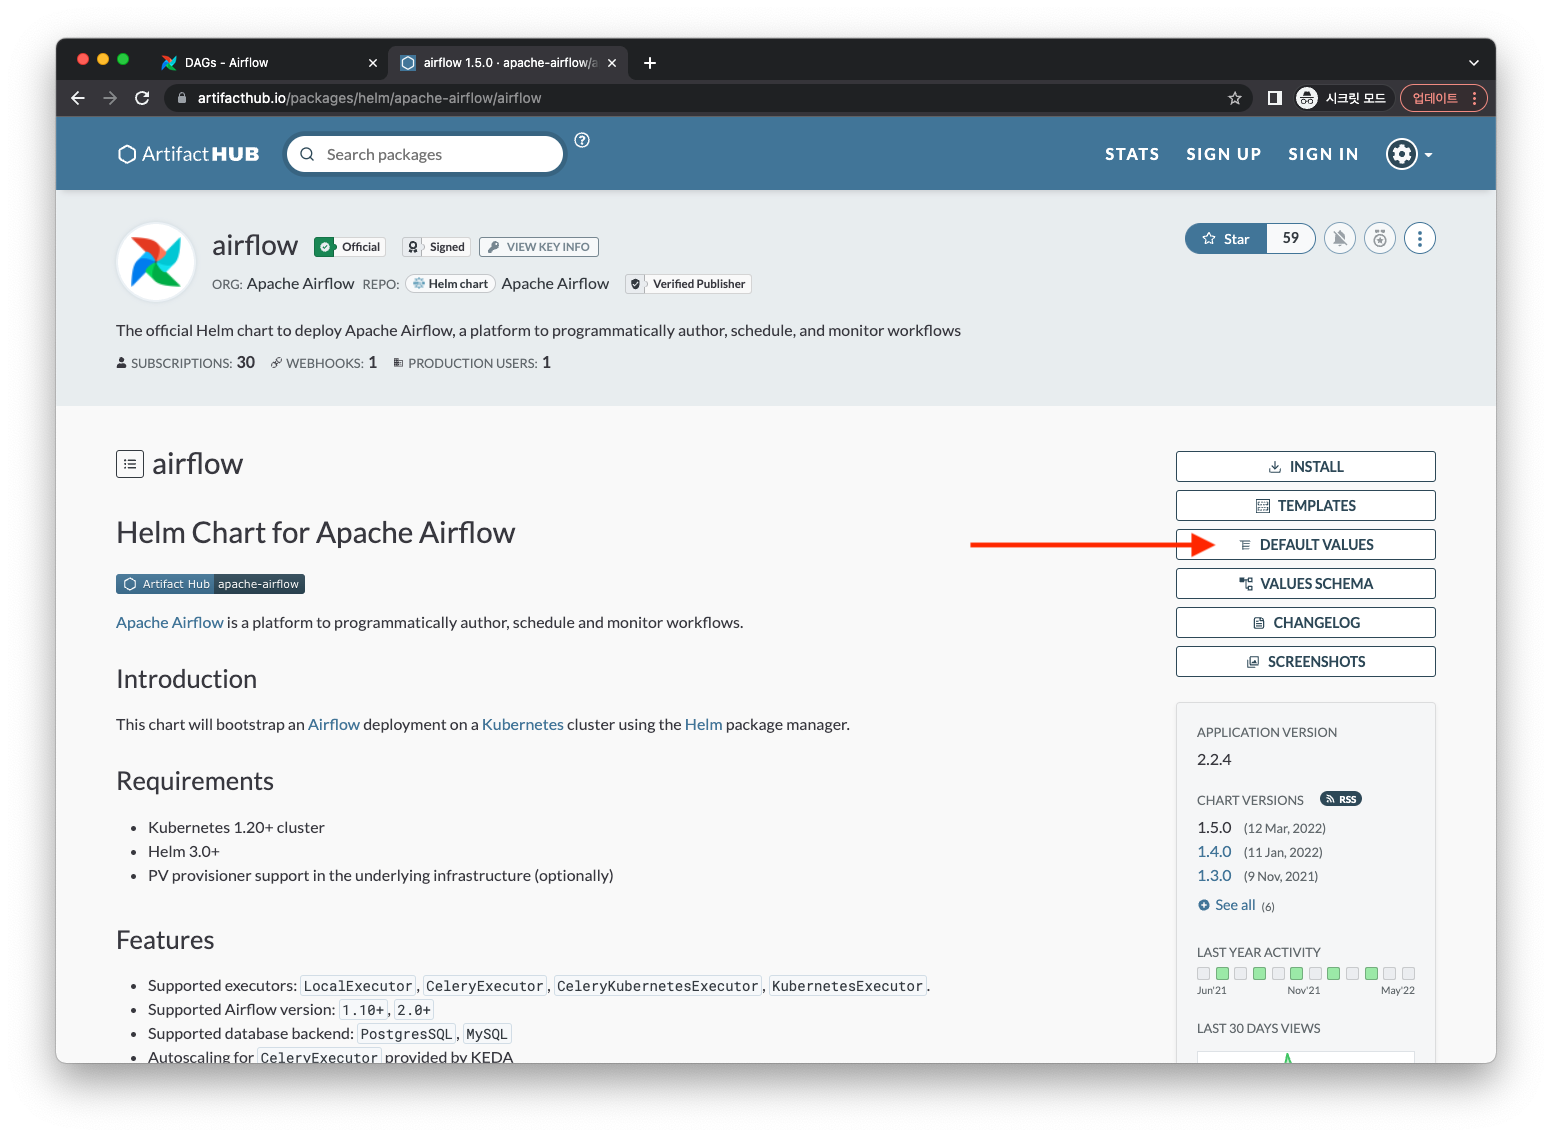
먼저 설정 파일을 아래처럼 다운로드하도록 합니다.
$ helm show values apache-airflow/airflow > values.yamlartifacthub에 접속해서 다운로드하여도 상관없습니다. 혹은 GitHub을 방문해도 됩니다.
이제 파일을 열고 수정해 줍니다. 아래 내용 기준으로 executor에 있는 CeleryExecutor를 KubernetesExecutor로 변경해주면 됩니다.
# Enable RBAC (default on most clusters these days)
rbac:
  # Specifies whether RBAC resources should be created
  create: true
  createSCCRoleBinding: false

# Airflow executor
# Options: LocalExecutor, CeleryExecutor, KubernetesExecutor, CeleryKubernetesExecutor
executor: "CeleryExecutor"

# If this is true and using LocalExecutor/KubernetesExecutor/CeleryKubernetesExecutor, the scheduler's
# service account will have access to communicate with the api-server and launch pods.
# If this is true and using CeleryExecutor/KubernetesExecutor/CeleryKubernetesExecutor, the workers
# will be able to launch pods.
allowPodLaunching: true

# Environment variables for all airflow containers
env: []
아래처럼 수정이 되겠네요.
# Enable RBAC (default on most clusters these days)
rbac:
  # Specifies whether RBAC resources should be created
  create: true
  createSCCRoleBinding: false

# Airflow executor
# Options: LocalExecutor, CeleryExecutor, KubernetesExecutor, CeleryKubernetesExecutor
executor: "KubernetesExecutor"

# If this is true and using LocalExecutor/KubernetesExecutor/CeleryKubernetesExecutor, the scheduler's
# service account will have access to communicate with the api-server and launch pods.
# If this is true and using CeleryExecutor/KubernetesExecutor/CeleryKubernetesExecutor, the workers
# will be able to launch pods.
allowPodLaunching: true

# Environment variables for all airflow containers
env: []
파일을 수정했으면 수정된 파일을 EKS에 적용시켜줍니다. 이전에 네임스페이스를 transformer로 생성해줬기 때문에 배포할 네임스페이스도 transformer로 지정해준 걸 확인할 수 있습니다.
$ helm upgrade --install airflow apache-airflow/airflow -n transformer -f values.yaml --debug
배포가 끝나면 pod 목록이 바뀝니다.
$ kubectl get pods --namespace transformer
NAME                                 READY   STATUS    RESTARTS   AGE
airflow-postgresql-0                 1/1     Running   0          2d21h
airflow-scheduler-85959f94f4-5pq5z   2/2     Running   0          2d21h
airflow-statsd-7586f9998-c5ppg       1/1     Running   0          2d21h
airflow-triggerer-5ccc7b77bf-gjxtw   1/1     Running   0          2d21h
airflow-webserver-5b94d75885-vg7fl   1/1     Running   0          2d21h
바로 비교하기 위해 앞선 글에서 CeleryExecutor 일 때 pod 목록을 가져왔습니다.
$ kubectl get pods --namespace transformer
NAME                                 READY   STATUS    RESTARTS   AGE
airflow-flower-6695746489-g92wr      1/1     Running   0          20m
airflow-postgresql-0                 1/1     Running   0          20m
airflow-redis-0                      1/1     Running   0          20m
airflow-scheduler-7597fd78d9-29hnj   2/2     Running   0          20m
airflow-statsd-5bcb9dd76-zq6m9       1/1     Running   0          20m
airflow-triggerer-697f8bcf44-h74lw   1/1     Running   0          20m
airflow-webserver-6b59698f6b-pv54q   1/1     Running   0          20m
airflow-worker-0
CeleryExecutor를 사용할 때 있었던 flower, redis, worker가 없어졌는데요, DAG 안에 task가 실행되는 단위가 pod기 때문에 현재는 대기하는 worker가 없다고 보면 됩니다.
여기까지가 executor를 KubernetesExecutor로 변경하는 과정이었습니다. 다음 글에서는 Dag을 EKS 위로 가져오는 방법을 소개하겠습니다.
# Ref.
'개발 > Apache Airflow' 카테고리의 다른 글
| helm upgrade --install 오류 (0) | 2023.06.16 |
|---|---|
| EKS Airflow에 git-sync 적용 (0) | 2022.05.23 |
| EKS 위에 Airflow 구성 (2) | 2022.05.23 |
| airflow 파라미터 튜닝 (6) | 2021.07.05 |
| docker-compose로 Airflow 한방에 설치하기 (1) | 2021.06.21 |
- Total
- Today
- Yesterday